How to Videos
How To Brew Perfect Pour-Over Filter Coffee at Home
-Today we are going to explain brew filter coffee by hand. We’ll cover the basics of what you need to start making delicious coffee fresh at your home.
What you’ll need today
-To brew, you’re going to need a few different tools.
-First, obviously a brewer. We’re using an Origami dripper today but this will be similar to any dripper. Such as v60, kalita, chemex, etc.
-You’ll also need filters. I’m using origami’s paper filters today but you can choose any that fits your brewer. The main difference between metal and paper filters is that paper filters will trap more of the coffee fines and oil than metal. For the metal filters, this makes the coffee heavier and richer but can sometimes be a bit murky, while paper filters offer a clean cup.
-I also have a carafe, but you can just use a mug.
-There is also a scale, any kind of kitchen scale will do but we highly recommend using one so that we can keep our brews consistent.
-A timer
-A gooseneck kettle set to 96C. Any kettle will work but this is another tool that’s worth the investment, it helps with being able to control your flow rate when pouring as well as keep the temperature consistent. If you are using a regular kettle it’s best at about 10s off boil.
-We’re also using filtered water. Most of what coffee is, is water so make sure you’re using decent water.
-Finally, you will need fresh coffee. Today I’m using Caliber to brew. Caliber is a delicious and balanced coffee that works really well for filters. We recommend you use coffee that is between 1 week and 2 months off roast, this is the prime time for coffee. It’s also best that you grind it fresh for every cup.
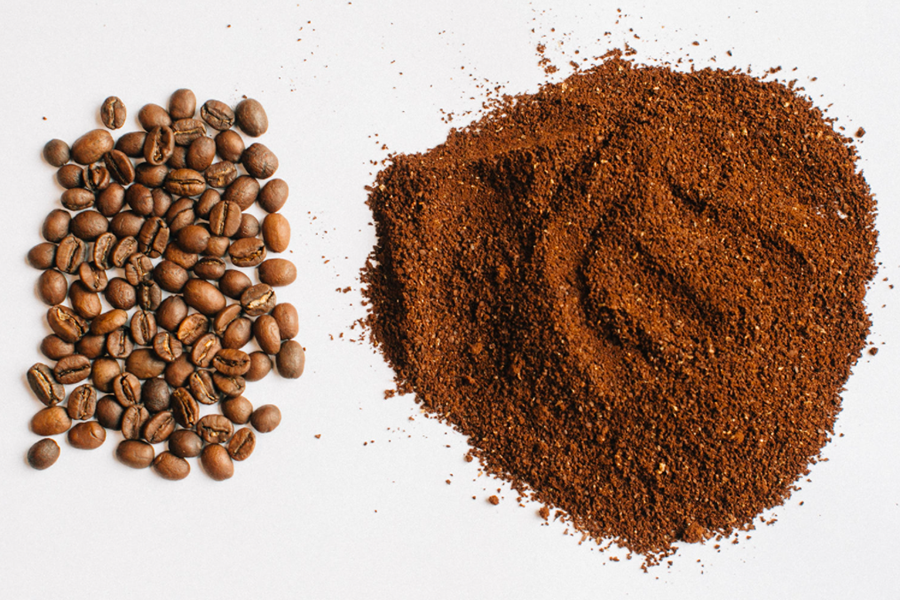
-Today our recipe calls for 22g of coffee and 350g of water, and this will create a 10-12oz cup. And our coffee is ground at a medium-fine setting. A bit finer than you would grind for an auto-drip machine.
So let’s begin brewing
-This is the recipe we use in our shop, it’s easy, it’s reliable.
-First, I am going to use hot water to pre-wet the filter. This does two things; firstly, it rinses the filter to get rid of any paper taste it could impact on the coffee. Secondly, it preheats our brewer so that when we’re ready to start brewing we won’t immediately cool down our water.
-Perfect, let’s dump that out and reset it.
-Next, we’ll tare our scale so we can double-check the weight of our coffee. Perfect.
-Then tare again and we’ll be ready to brew.
-So we are going to start the timer and our first pour is called the bloom, and we will be adding 50g of water fairly quickly, then we’re going to grab the brewer and give it some quick swirls. And then set it down and wait until our timer says 45s. This bloom stage does a couple of things for the coffee, first, it lets us make sure that all the coffee is getting wet at the same time, so when we’re brewing we don’t have any dry clumps floating around. Secondly, it gives the coffee time to release c02 that’s built up in the roasting process, which can slow down the extraction.
-Our next pour is the main one. We’re going to be adding 300g of water over the next 45s so that when our timer is at 1:30 we’ve added a total of 350g of water. So this is a fairly slow pour and we’re just going to aim for a consistent pour speed and slow gentle spirals. It may take a couple of tries to figure out how fast you have to pour. You don’t want your arm moving up and down or going in circles too fast, just nice and gentle. When we’ve reached the total water weight of 350g, pick up the brewer, and give it one last small swirl, watch out it might be hot. This helps level all of the coffee that’s swirling around in there.
-The water should finish drawing down through the coffee bed at around 3min on the timer.
-Now if your coffee takes too long to draw down around 3:30-4min, you’ve ground too fine for your coffee, and it’s over-extracted, it tends to be very bitter, astringent-it kind of stains your tongue, strong, and papery.
-If your coffee draws down too quickly around 2-2;30min, you’ve probably ground too coarse, you’ve under-extracted it, coffee can be sour, watery, sharp, not very sweet, salty.
-If you got the right grind size and your coffee finishes around 3min, then it should be balanced, sweet, flavourful, with a nice aftertaste.
-This Caliber coffee, when brewed right, tastes just like powdered sugar and chocolate with a bit of candied orange. It has a heavy body with a creamy mouth feel.
After you’re finished brewing…
-It’s always good to look at the brew bed, this can tell you how good of a job you did in brewing. If it’s lumpy, uneven, has a hole or a mound, then it meant there was some inconsistency in the brew. When the brew bed is perfectly flat then it means that the water can flow through it all at the same time.
-I recommend taking notes about your brew, especially when you just started out. What did you do, how did you like it? Then you know what you can change next.
Finally, enjoy.

