How to Videos
How To Steam Milk for Latte Art

Follow along with Griffin as he brings you through the steps, concepts, and good habits that will help you steam barista quality milk for latte art at home.
Learn how to properly allocate milk quantity, achieve desirable milk temperature, aeration and texture for a precise pour.
Milk consistency, temperature and pouring techniques play an important part in combining espresso flavours with the milk in a beverage as well as help to distinguish if a drink is steamed more for a latte, a cortado or a cappuccino and more.
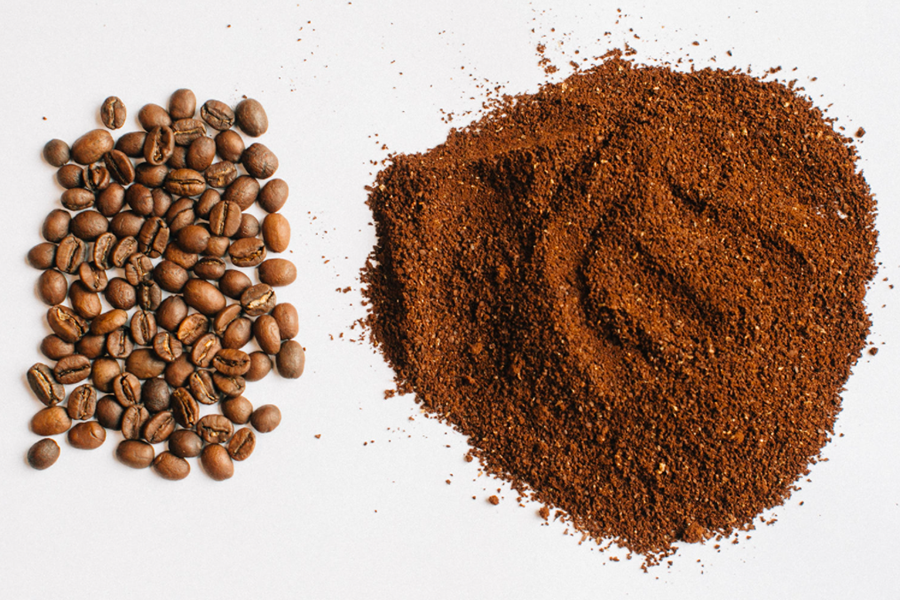
Tools used in the video:
Breville Barista Pro
Whole Milk
Steaming Pitcher
Mug with Espresso
Timbertrain Coffee
Recipe used in the video for espresso (from our previous video on How to Make Perfect Espresso at Home):
18g Dose – 39g Yield – 32 Seconds
If you have any questions, or want to try the coffee that was used in this video, visit our website:
timbertraincoffeeroasters.com
Video Script
Milk Steaming For Latte Art at Home
Intro
Today we’re going to cover the basics of steaming good milk on a home espresso machine as well as give an introduction to latte art. The first step in making latte art is making well steamed milk, it doesn’t matter how good your latte art skills are, they mean nothing if the milk isn’t steamed well.
These same principles can be used with milk alternatives. Some alternatives are better at steaming than others, but often you can find ‘barista’ versions of milk that are mixed to make it easier. My favourite milk to steam is oat milk. I find it steams the most closely to whole milk, and imparts the least amount of flavour onto the coffee but this is just a personal preference, any milk is fine.
Whole milk tends to be the milk of choice for milk steaming because of its oils and proteins. These help the milk get foamy while still being very creamy.
The process
So what really happens when we’re steaming milk? Most people think about it as adding foam and heating up the milk but the better way to think about what’s happening is to think about it is that we’re adding air and mixing that air into the milk. Heating up is just the by-product. The main goal when steaming milk for latte art is to create what we call ‘micro-foam’, which gives the steamed milk its texture.
Microfoam
What does microfoam mean? Well it’s basically what the name implies, it’s thousands of really small bubbles that come together to make foam. Because they’re so small, instead of feeling like foam it gives you the sensation of being more creamy.
Most people picture the cappuccino as a drink with multiple layers, thick foam, milk, and espresso. And that’s a perfectly acceptable way to drink them and they can be very delicious. But a well made cappuccino with microfoam will have this creamy and rich texture throughout the whole drink, from the first sip to the last.
Talking about heat
If you’ve noticed many newer local cafes you visit don’t make drinks quite as hot as starbucks, there’s a reason for that. In basic terms; when we are heating up milk we begin to increase the solubility of lactose, which is like milk’s natural sugars, and this increased solubility of the lactose gives us a greater perceived sweetness. After a certain heat, around 70C or 160F, the temperature starts to break down the enzymes and proteins which then take away some of the flavour and sweetness of milk. So, many cafes these days make drinks that stay under this temperature. But don’t let this decide how you drink your coffees, if you like your coffee really hot, then that’s how you should drink it.
How to
For steaming I find filling up the pitcher so that the milk is just below this spot on the spout works best but this all depends on the size of your cup. Filling the pitcher too much or too little can make it harder to steam so try and find a pitcher size that works best for you. When we go to steam milk I like to rest the pitcher against the steam-wand so that it helps keep it stable, then I move the pitcher so that the steam wand is just below the surface. I then like to move it slightly to the side and back. We turn on the machine and the first thing we are going to do is add air. Remember we talked about the secret to great foam is air and mixing that air? Well the quicker we can add this air, the more time we can spend integrating. Home machines tend to be more forgiving with this as they give you a lot of time to spend mixing the milk.
So we turned on the steamer and we’re beginning to gently add air, slowly moving the pitcher down so that the steam wand can push air into the milk. It creates this sound similar to tearing paper. It’s hard to describe an exact amount of air to add, it tends to be a sense you get from the sound and the feeling. But I often say to look for stretching the milk, or expanding it by a third. So if you start with the pitcher half full, you want to bring the total height up by another centimeter or two. This is also all preference, if you prefer foamier or less-foamy drinks that’s totally cool too. This is just about how much foam I find is best for creating latte art.
When we’ve added enough air, I’m just going to move the pitcher up slightly so that the tip of the steam wand is covered and the sound stops. There’s no need to plunge the steam wand all the way to the bottom, we just want it low enough that we can’t hear the noise anymore. If at this point you can hear the milk yelling at you, making a loud screeching noise, then you know that you haven’t added enough air. The foam acts as a cushion that dampens this screeching.
For the rest of the time we are going to have the pitcher sitting here letting the milk create a whirlpool. This whirlpool is what is going to mix our air into the milk. For the most part we want to hold the pitcher still. If you’re having trouble getting a nice whirlpool sometimes tilting the pitcher more can help.
Finally when the milk is at the temperature you like we can turn off the steam wand. You can use a thermometer for this but I like to just touch the bottom of the pitcher with my hand to feel the heat. I find milk tends to be hot enough when I can still touch the bottom but it’s too hot to hold my hand on.
The milk at this point should resemble wet paint. Thicker than the milk we began with but it still looks smooth and glossy with no visible bubbles.
If you have a couple bigger bubbles, that’s totally ok. You can give the pitcher some hard taps on the counter and that should pop them, I like to hold my hand over top so that it doesn’t splash out. I also like to keep swirling the milk, this keeps it integrated. We spent all this time making nice microfoam that’s integrated throughout but if we just leave it on the counter all the foam will rise to the top. You can watch this happen pretty clearly if you make a drink in a clear glass.
This is why it’s always best to have your espresso ready before you steam milk so that you don’t have to stand around swirling the milk.
Latte Art
So we have our espresso, we’ve made this awesome milk now it’s time for everyone’s favourite part; the latte art.This is definitely challenging but if you have well steamed milk, it makes it easier. The best shape to start out with is a heart, this makes the foundation for every other design.
We are just going to start by pouring our milk until the glass is about ¾ full. At this point we are going to tilt our cup and bring our pitcher as close to the level of the coffee as we can, at the same time pouring slightly quicker. We’re just going to pour straight into the middle. We don’t need to move the pitcher back and forth or up and down, we just want the foam to roll off onto the top of the surface. Finally when the cup is almost full and we’re happy with our heart, we’re just going to bring the pitcher straight through the heart. That’s it.
If you’re having trouble getting any art to show up on the surface, it can be a few reasons but it’s usually because either you aren’t pouring close enough, you aren’t pouring quick enough, or there’s not enough foam.
Here are some examples of pouring latte art with too much and too little foam.
With too much foam, you can see it’s very clumpy and often not as smooth. So you know for next time to not add as much air.
With too little foam it looks very watery, and the art doesn’t really hold its shape. So next time you can add more air.
Outro
So those are the basics to steaming milk for latte art. If you’re still having issues with latte art, it usually comes from the milk steaming part. But please feel free to leave us any questions you may have. There’s also tons of great videos out there if you’re looking to grow your latte art skills once you’ve mastered the heart.
But for now, thanks for watching and see you guys next time.